In this guide, we’ll break down everything you need to know about labret piercings—from what a labret piercing is to how the process works and how to care for it. By the time you finish reading, you’ll feel confident and ready to book your labret piercing appointment.
What Is a Lip Labret Piercing?
Truthfully, labret piercings are a type of lip piercing—but with a key difference. Labret piercings are always below the bottom lip, while lip piercings can be placed on or around either lip.

Lip piercings can get a little confusing—especially when it comes to traditional vs. labret piercings. The definitions can vary depending on the piercer, shop, or even social media trends. But here’s the gist of what makes a labret:
- Location — they are located just below the bottom lip or about the crease of the chin.
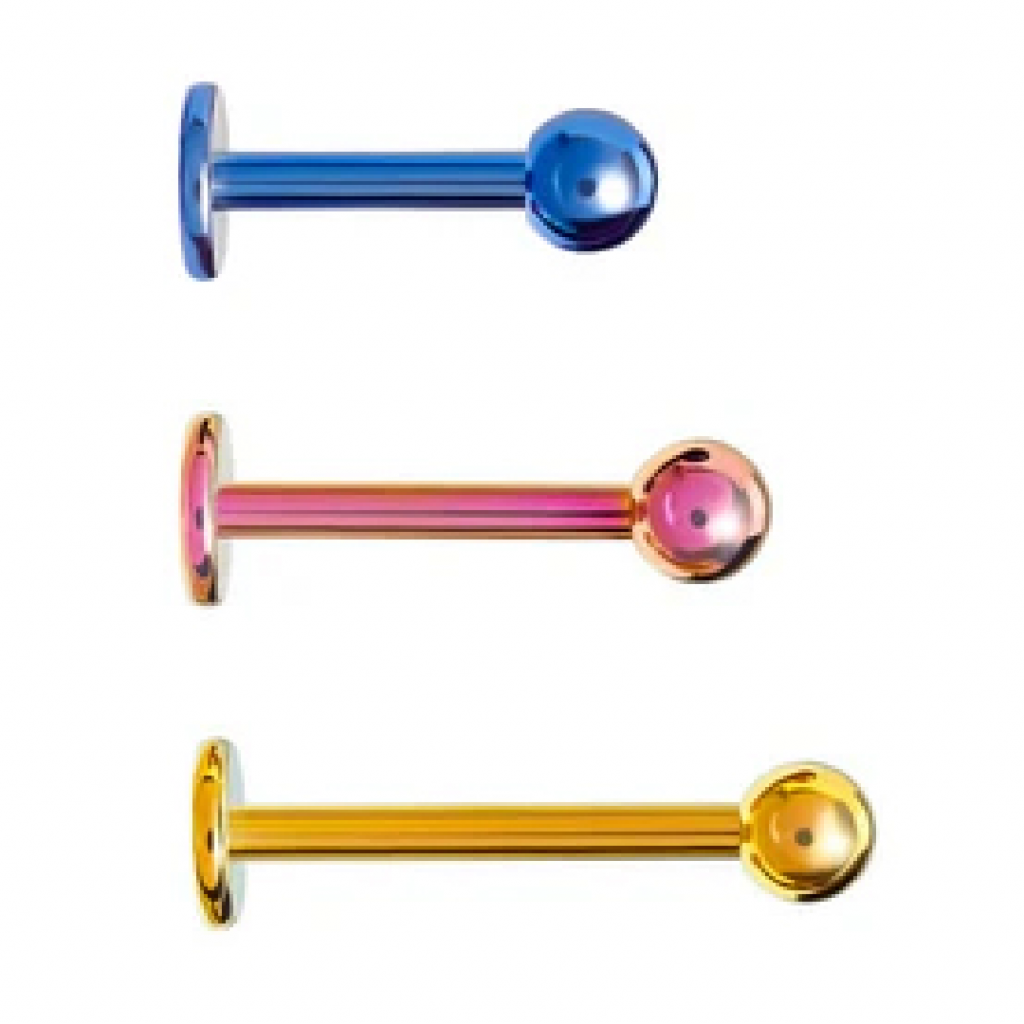
- Jewelry — Labret piercings have labret studs. Explore our entire collection of labret jewelry here.
Basically, if the piercing is in that area and has a labret stud, it’s considered a labret. That said, there are some variations out there. Snake bites, spider bites, dolphin bites—you’ve probably heard all the names! It can get overwhelming, but don’t worry—we’ll break it all down for you.
Different Types of Labret Piercings
There are all kinds of labret piercings defined by their placement on or around the bottom lip. Here’s a quick rundown:
Vertical Labret Piercings
A vertical labret piercing consists of two pierced holes in the bottom lip—one through the top part of the lip and the other exiting just below it. The cool part? It doesn’t go inside your mouth at all, so you don’t have to worry about it messing with your gums or teeth. If you want a bold, eye-catching choice without the dental trauma, the vertical labret is a solid choice.
Side Labret Piercings
Side labret piercings are a lot like vertical labrets, except they’re just off to the side instead of dead center. They sit to the left or right of your bottom lip, giving you a slightly asymmetrical look. And side labrets are often the first step to creating killer combos like:
- Snake bites — two separate piercings on each side.
- Spider bites — two separate piercings on the same side.
- Shark bites — two pairs of piercings on each side; sort of like a snake and spider bite combo.
- Dolphin bites — two separate piercings below the center of the lip.
Side labrets can totally stand alone too. A single side labret piercing is a simple yet stylish accent that adds a little something special to your overall look.
If you wanna learn more about these and other lip piercings, check out the blog, The Ultimate Guide to Lip Piercings.
Horizontal Labret Piercings
Horizontal labret piercings are pretty rare, so that probably makes you want one even more, right? Instead of sitting below your lip, they go straight across the widest part of your bottom lip, right in the center. Just like vertical labrets, they don’t go all the way through into your mouth—so no worries about gum or teeth damage (huge win). If you’re after something unique that stands out, a horizontal labret piercing might be the right choice.
Before you get pierced, take a minute to chat with your piercer about a couple things:
- How you want it to look. It might feel like a no-brainer, but making sure you and the piercer are on the same page is super important. If they start poking around your lip, don’t freak out—they’re just making sure your piercing is placed perfectly.
- Your jewelry choice. You might have your heart set on a certain piece, but here’s the thing—your anatomy plays a big role in what will work best. Fortunately, an experienced piercer knows their stuff and can help you pick something that not only looks awesome but also fits comfortably.

How Much Does It Cost?
A labret piercing shouldn’t drain your wallet, but don’t cut corners when it comes to quality and skill. A good piercing is worth the investment.
Expect to pay $50 to $100 in total:
- Piercing fee: $30–$60
- Basic jewelry: $20–$40
Prices can vary depending on the studio, piercer experience, and jewelry choice—so choose wisely.
The Labret Piercing Process
Once you and your piercer have nailed down the details, it’s time for the main event.! Here’s what to expect step by step:
- Marking the spot — They’ll use a skin-safe marker to pinpoint the perfect placement.
- Cleaning & sterilizing — Thorough cleaning and sterilization of the area to help keep infection at bay.
- Clamping the area — This helps keep everything steady for a precise, clean piercing.
- The piercing itself — Your piercer will use a hollow needle to make the magic happen. The location depends on the type of labret piercing you’re getting (see above).
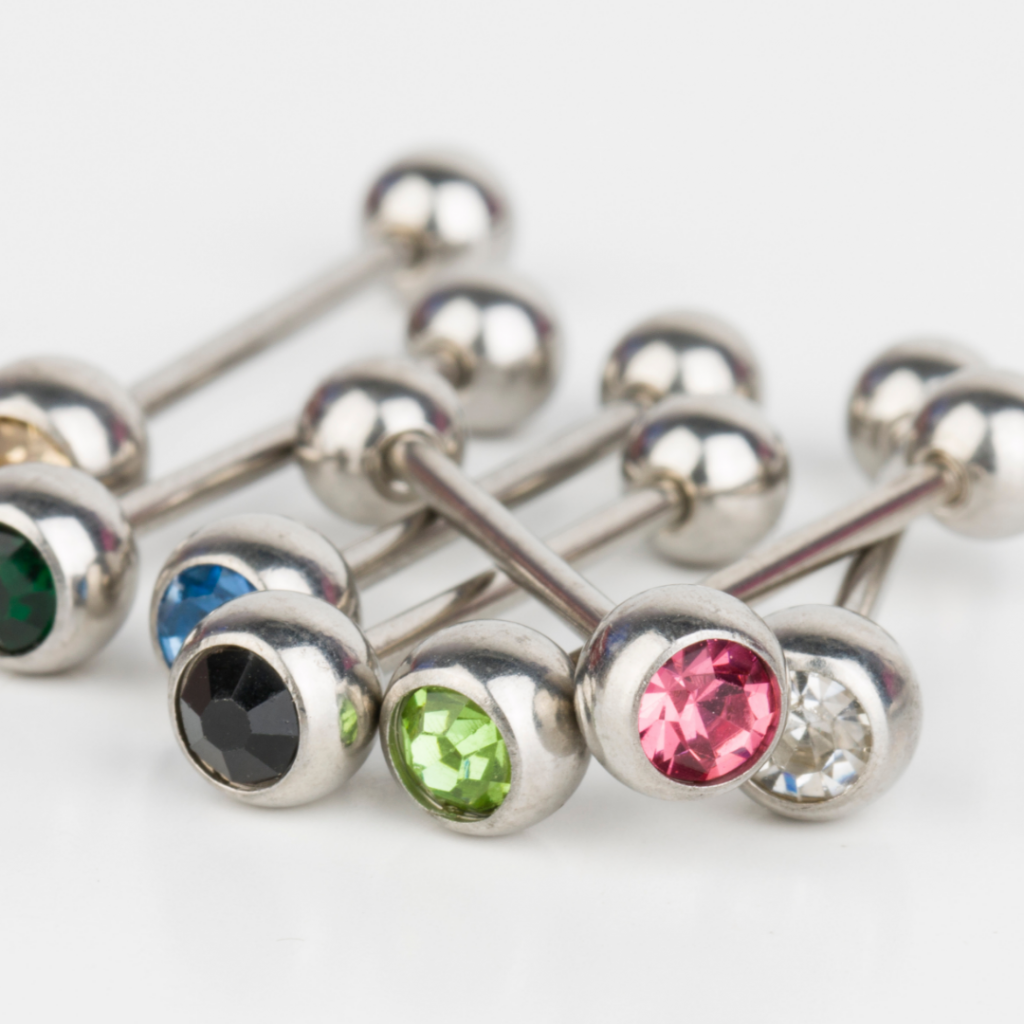
- Time for jewelry — Your piercer will insert the right size jewelry (typically 16 to 12 gauge) with a longer labret post to allow for swelling during the healing process.
And just like that, you’re rocking your new labret piercing.

How Long Does a Labret Piercing Take to Heal?
Labret piercings typically heal in about 6–8 weeks. But you’ll still need to be gentle with it for the entire 8 weeks or longer. That’s because the outside may look good to go, but the inside of your lip is still doing its thing. Factors that affect healing time include:
- Piercer’s skill level — A pro with a steady hand means less trauma and a smoother healing process.
- Aftercare routine — Sticking to your aftercare (no skipping sessions!) can make a huge difference in how fast you heal.
- Your body’s chemistry — Everyone heals at their own pace—some faster, some slower, and that’s totally normal!
It’s also crucial that you’re extra careful not to bump, snag, or accidentally bite your piercing while it heals. Check out our comprehensive guide on lip piercing aftercare so your labret piercing heals up right.
Things to Watch Out For
While you’re enjoying your new labret piercing, be on the lookout for anything that doesn’t seem normal. If you notice any of these symptoms, an infection could be brewing:
- Intense pain & swelling — Some swelling is normal, but it shouldn’t be extremely painful or puffy.
- Colored discharge — Green or yellow gunk? That’s a big red flag.
- Bleeding — A little blood at first is fine, but if it continues for days, something’s up.
Even if it’s not an infection, changes in your skin around the piercing can still signal an issue:
- Bumps — A single bump or a cluster could mean irritation.
- Pustules — If it looks like a pimple, it might be a fluid-filled irritation bump.
- Hypertrophic scarring—Raised bumps from excess collagen buildup.
If you spot any of these signs, don’t wait! Check in with your piercer ASAP so they can assess the situation and guide you on what to do next. If symptoms get worse or seem serious, seek medical attention immediately.
Labret Piercing Aftercare Tips
Keeping your new labret piercing happy and healthy should be your top priority! Here are a few fast tips for keeping irritation and infection at bay:
- Keep your face (and lip) clean — Wash your face regularly but remember to be gentle around your piercing.
- Watch what you put on your face — Makeup, sunscreen, and lotions can clog or irritate your piercing if they get inside.
- Step up your oral hygiene — Brush after meals, floss regularly, and use
- Eat with care — Be mindful while chewing—your piercing is easily prone to chomping. Ouch.
- Keep your hands (and other stuff) to yourself — Dirty fingers, scarves, pillowcases—anything touching your piercing should be clean to avoid irritation.
- Skip the alcohol (for now) — Alcohol can slow healing, so cut back or avoid it while your piercing recovers.
These aftercare must-haves will help your labret piercing heal smoothly:
- Recovery Purified Saline Wash Solution Spray
- Recovery Aftercare Sea Salt Mouth Rinse
- Tattoo Goo Medical Grade Saline Spray
- Biotene Dry Mouth Oral Rinse

Go Rock That Labret Piercing
You’re officially ready to walk into the piercing shop with confidence. Armed with all the right info, you’ll know exactly what to expect and how to care for your new labret piercing. Follow these tips, stay consistent with aftercare, and your piercing will heal beautifully.


Comments are closed here.