Quality piercing aftercare is a must for happy, healthy piercings. Every good piercing is the combined result of a skilled piercer and smart piercing aftercare practices. If you want a new piercing to heal well, taking good care of it is a must.
If you’re new to body piercing and aren’t sure what piercing aftercare is (or exactly what it entails) don’t worry. It isn’t a state secret. The steps to caring for your new piercing(s) are simple. Just listen to your piercer and abide by the Golden Rules of Piercing Aftercare, and you’ll be… well, golden.
THE GOLDEN RULES OF PIERCING AFTERCARE
- Keep your new piercing clean.
- Don’t play with your piercing.
- Don’t change your jewelry prematurely.
- Deal with problems immediately.
Pretty simple, right? But how should you clean your new piercing? Is it safe to ever touch your piercing? When can you change your jewelry? Follow these 4 simple piercing rules and all your questions will be answered.
RULE #1: KEEP YOUR NEW PIERCING CLEAN

If you want your new piercing to heal perfectly, you have to keep it clean. There are a couple ways to go about this. By best practices, neither method involves soap of any kind. If your piercer suggests you clean an external piercing with soap, make sure you use a gentle cleanser–something like baby shampoo. Before you go there, though, try one or both of these two more natural options.
Clean Your Piercing with a Sea Salt-Based Piercing Aftercare Spray
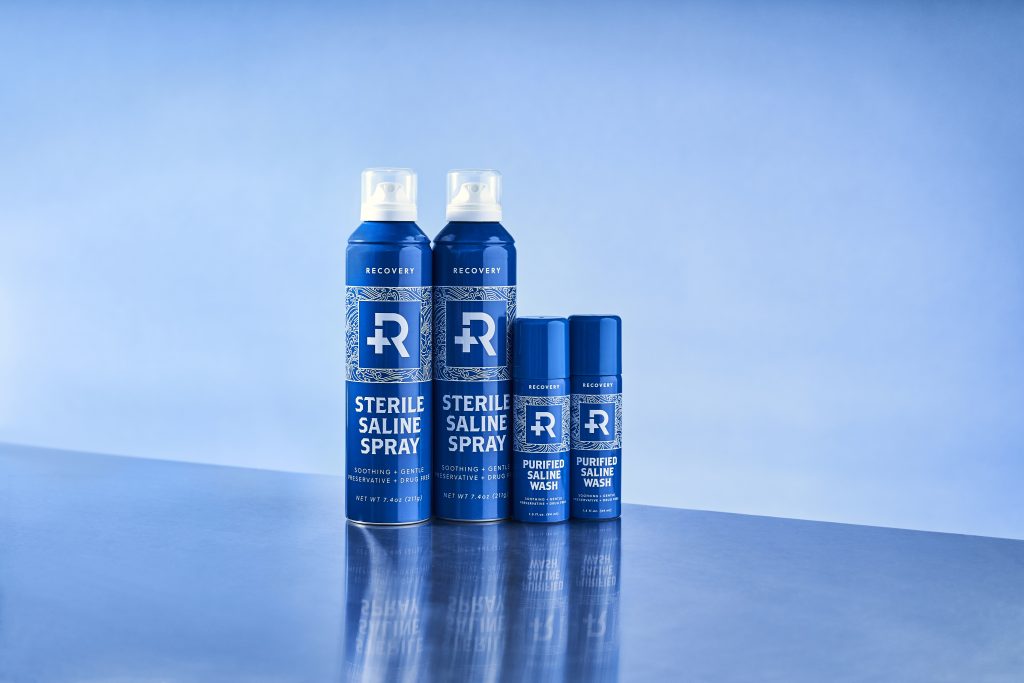
The best piercing aftercare sprays are saline sprays like Recovery Saline Solution. Consider buying an aftercare spray in 2 sizes: a larger bottle to keep at home for thorough daily cleansing, and a smaller bottle to carry with you.
What is in Piercing Aftercare Spray?
Piercing aftercare sprays typically contain a saline solution as their primary active ingredient. Saline solution is a mixture of water and salt (sodium chloride) that closely matches the body’s natural fluids. It is commonly used for wound cleansing and irrigation because it’s gentle, non-irritating, and helps promote healing.
When to Use Piercing Aftercare Spray
Ideally, you should spray your new piercing with an aftercare spray 3–6 times per day. If your piercing has an entry and exit point (e.g. an ear piercing or belly button piercing), be sure to spray both holes thoroughly. For something like a lip or cheek piercing, where one side of the fistula (i.e. the piercing hole) is external and the other side is internal, make sure to swish a saline oral rinse around your mouth for at least 30 seconds 3–6 times per day in addition to spraying the external side of your piercing with an aftercare spray.
Any time the skin around your piercing gets hot and irritated, it’s time to spray it again. You can never apply too much saline aftercare spray, but you could over-wash your piercing if you’re using soap. (Soap dries out the skin, so it can really irritate a healing wound of any kind when overused.)
At least twice a day, you should do more thorough sea salt solution soaks for new external piercings. You can use a store-bought piercing aftercare spray for your soaks if desired.
How to Use Piercing Aftercare Spray
METHOD 1
- Hold the spray bottle upright with the nozzle a few inches away from your piercing.
- Direct the nozzle toward your piercing and press down gently to release the saline spray. Spray enough solution to moisten the whole piercing site.
- Allow the solution to air dry on your piercing or gently pat the area dry with a clean paper towel, cotton ball, or other disposable agent.
METHOD 2
- Take a clean cotton swab or cotton ball and place it on a sterile surface
- Hold the saline spray bottle upright and spray the solution directly onto the cotton swab or ball. Ensure it is moistened but not overly soaked or dripping.
- Carefully dab or press the moistened cotton swab or ball onto your piercing for ~15 to 20 seconds, ensuring the area is entirely covered with the saline solution.
- Allow the saline solution to air dry on your piercing.
When treating new piercings, this whole saline solution process should go on for 3–5 minutes. We also recommend talking to your piercer for personalized, professional advice after getting pierced.
Other Ways to Use Saline Solution
If you have a piercing that can soak in the solution without the use of a cotton ball, follow these steps:
- Fill a small cup (shot glasses work well) with saline solution. A self-made solution is advisable here—check out how to mix a homemade sea salt solution below.
- Submerge your piercing in it. You can do a full dunk easily with earlobe piercings, nipple piercings, and some genital piercings. If you have a new belly button piercing, lean forward, press the cup up over your belly button, and then stand upright again while holding the cup against your stomach.
Treating Internal Piercings

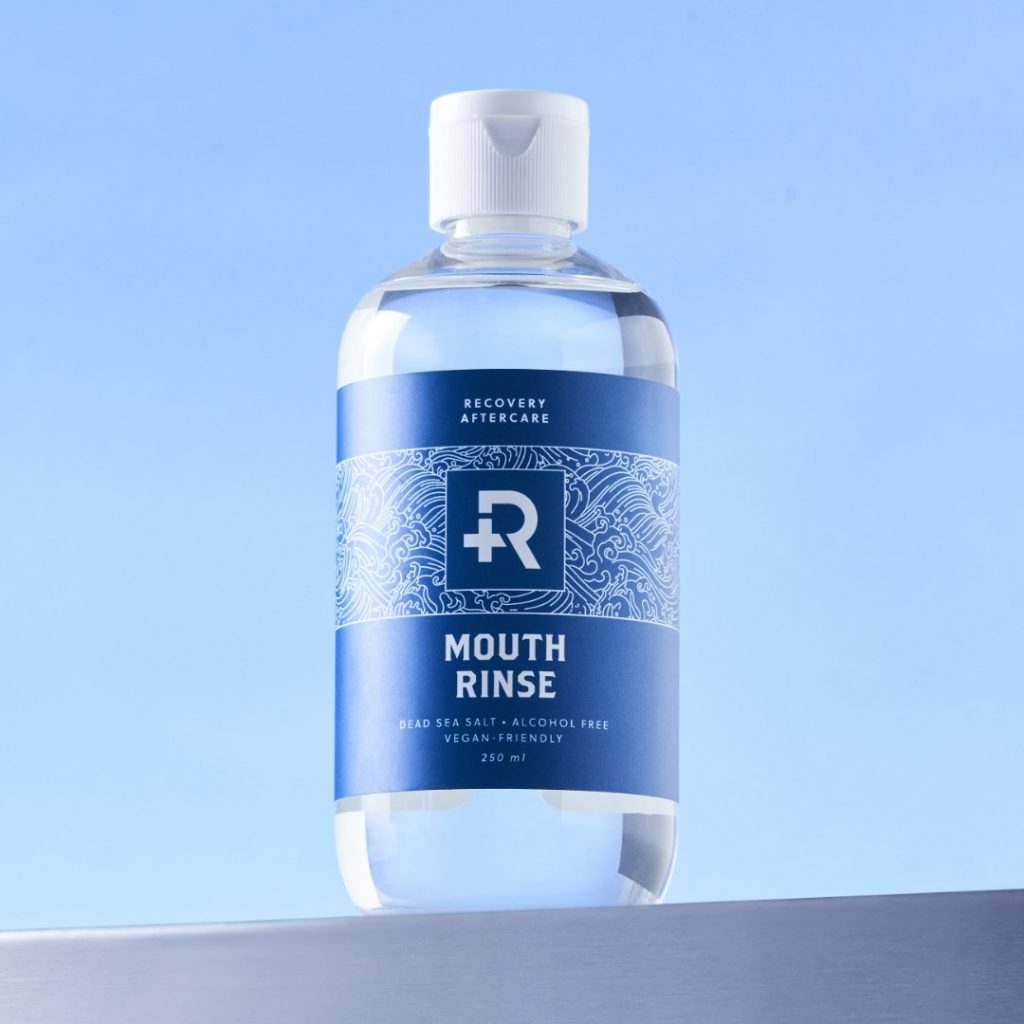
If you have an internal piercing (like a lip or tongue piercing), you’ll need a piercing aftercare mouthwash instead—not alcohol-based mouthwash that can dry out your piercing and delay the healing process, but a sea salt-based rinse like Recovery Oral Rinse. Be sure to swish morning, noon, and night… oh and after you eat anything, too! You can’t overuse this Oral Rinse.
Clean Your Piercing with a Homemade Sea Salt Solution

Homemade sea salt solution may work better than an aftercare spray for your twice-a-day full soaks. To make your own solution, you’ll need the following items:
- Sterile Water (you can buy sterile water or boil water for 5 minutes to sterilize it)
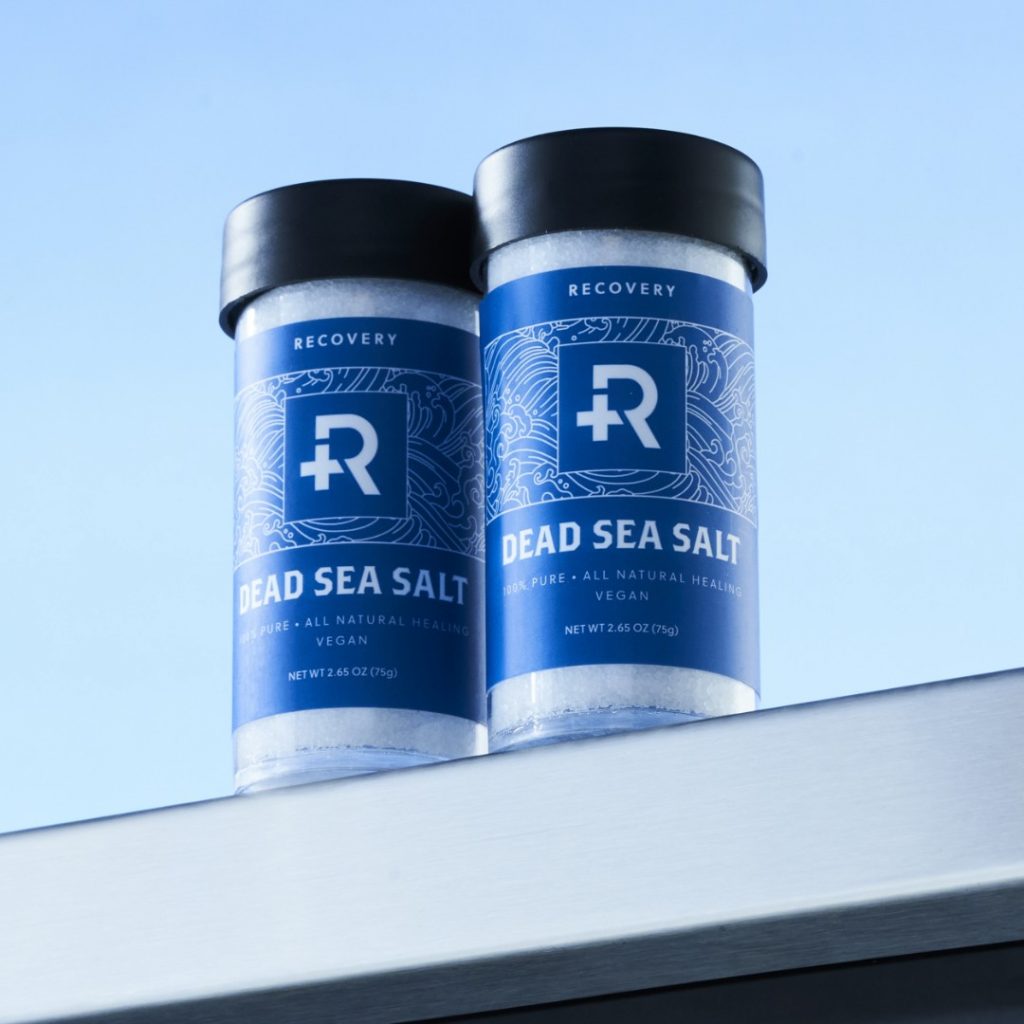
- Sea Salt (we recommend Recovery Dead Sea Salt, but aquarium salt from a pet store can also be used)
- Measuring Tools (you’ll need to measure out 1/4 tsp. of sea salt and 1 cup of sterile water)
- A Spoon or Other Stirrer
- A Cup
- Tea Tree Oil (optional)
- Stir 1/4 teaspoon of sea salt into 1 cup of warm, sterile water until it’s fully dissolved.
If your skin is dry or generally irritated, adding 2–3 drops of tea tree oil to your sea salt solution will help your piercing. Tea tree oil is a natural moisturizer and antiseptic, so it’s a great ingredient for preventing infection and softening dry, cracked, or otherwise irritated skin. Stir some into your solution, if desired, and then you’re ready to clean your piercing.
You can apply your homemade sea salt solution the same way you would when using store-bought piercing aftercare spray to do full soaks. Just soak a cotton ball in solution, apply it to your piercing for 15–20 seconds, dispose of it, and repeat with a fresh cotton ball. Or, if possible, submerge your whole piercing in the solution for 3–5 minutes.
RULE #2: DON’T PLAY WITH YOUR PIERCING
New piercings are highly susceptible to developing infection if bacteria is introduced. The easiest way to introduce bacteria is by touching your piercing. We know—it’s hard NOT to touch your new piercing. The piercing will feel foreign initially, plus you’ll be excited about it, and you’ll want to touch it. DON’T. If you have to touch your piercing, make sure you wash your hands with antibacterial soap first. Better yet, wear gloves.
If “crusties” form around your piercing, don’t worry, and don’t touch them with your bare hands. Crusties are just dried lymph, which is a clear fluid the body naturally excretes during the healing process that dries to a whitish crust. Piercers used to suggest turning, twisting, or sliding your body jewelry to break up crusties… but that’s not a good idea. You could transfer bacteria from your hands onto your jewelry and/or turn bacteria clinging to your jewelry into your delicate healing fistula. A much better solution for dealing with crusties is to soften them with sea salt solution or a piercing aftercare spray, and then gently wipe them away with a soft tissue. Always wash your hands first!
The only other good reason for touching your piercing is if you’re changing your jewelry, which leads us to Golden Rule #3.
RULE #3: DON’T CHANGE YOUR JEWELRY EARLY
Jewelry is one of the best parts of getting a new piercing. There are so many gorgeous body jewelry options available to tempt you, and you should indulge… but not until your piercing is fully healed. Different piercings take different amounts of time to heal, and different people heal at different rates. Here’s a general reference list of common piercings and average healing times:
- Belly Button Piercing Healing Time: 2–3 Months
- Bridge Piercing Healing Time: 2-3 Months
- Dermal Piercing Healing Times: 3-6 Months (Varies by Location)
- Earlobe Piercing Healing Time: 4-6 Weeks
- Eyebrow Piercing Healing Time: 2-3 Months
- Female Genital Piercing Healing Times: 4 Weeks to 4 Months (See Genital Piercing Healing Times for Specific Piercings)
- Helix/Cartilage Piercing Healing Time: 3-6 Months Minimum, More Typically 6-9 Months
- Lip Piercing Healing Times (Labret, Snakebites, Monroe, etc.): 2-3 Months
- Male Genital Piercing Healing Times: 4 Weeks to 6+ Months (See Genital Piercing Healing Times for Specific Piercings)
- Nipple Piercing Healing Time: 9-12 Months
- Nostril Piercing Healing Time: 2-3 Months
- Oral Piercing Healing Times (Smiley, Frowney, Frenum & Tongue Piercings): 4-6 Weeks
- Septum Piercing Healing Time: 6-8 Weeks
If you take out your jewelry too early, you may have trouble getting your new jewelry in on your own. If the fistula isn’t fully reinforced yet and you’re moving too slowly, your piercing may close before you can get the new jewelry into it. For that reason, it’s usually better to have a piercer change your jewelry for you the first time.
Whether or not a piercer helps you, the only time you should change your jewelry early is if you’re having problems with the piercing and think the jewelry’s material or length may be part of the problem. That leads us to Golden Rule #4.
RULE #4: DEAL WITH PROBLEMS IMMEDIATELY
Various issues can arise in the early days after getting a new piercing. Unfortunately, a lot of clients fall victim to certain piercing myths that we bust in our blog here. But the most common problems/concerns include:
Swelling: if the area of your body you’ve just had pierced swells excessively, your jewelry may begin to press uncomfortably into your skin. This is a problem you need to deal with immediately because prolonged pressure can cause necrosis (tissue death), which can lead to infection and/or cause you to lose your piercing. If you experience this issue, see your piercer right away and ask him or her to give you a longer barbell.
Tip: A captive bead ring makes great starter jewelry for many piercings, and it’s ideal because it leaves plenty of room for swelling. A captive ring is much less likely to put pressure on a swollen new piercing than many barbell styles. If you’re having your ear cartilage pierced, a labret stud is also a good choice, since that part of the body tends not to swell as much as fleshier areas do when pierced.
Allergic Reaction: if the skin around your piercing becomes excessively red, itchy, or excessively swollen, you may be allergic to your starter jewelry material. Surgical stainless steel and titanium are the two best metals for starter jewelry because they’re the most inert metals and least likely to trigger a reaction. (Typically people who have reactions are reacting to the high nickel content of cheaply-made jewelry.) BioPlast is another good hypo-allergenic alternative for people who have sensitive skin.
Irritated Belly Button Piercing Infection: if you notice any of these issues with your piercing, you may have an infection and should see a doctor immediately:
- Thick, Yellow, Pus-Like Discharge
- Red Streaks
- Skin That’s Hot to the Touch
- Fever
You may be able to avoid a full-on infection if you ramp up your sea salt solution application regime right when you begin to notice problems, but if your symptoms are severe or they persist, you should see a doctor right away. Don’t take infection lightly, particularly with oral and facial piercings.
If your doctor tells you to take out your piercing, don’t worry. As long as you keep your piercing clean while you take antibiotics, you should be able to keep it. It isn’t a good idea to take out jewelry while you have an infection anyway since bacteria could get trapped inside when the hole begins to close, which could potentially create an abscess.
OTHER TIPS FOR A HAPPY, HEALTHY PIERCING
- If you’re well, your piercing will be well, too. That’s why you should do the following while your piercing is healing, in addition to abiding by the Golden Rules above:
- Eat well.
- Be hygienic overall.
- Get plenty of sleep.
- Avoid aspirin, at least early on (it’s a blood thinner).
- Avoid alcohol and nicotine (these substances can slow the healing process).
- Wear loose clothing if your piercing’s in an area where clothing may irritate it.
- Protect your piercing (e.g. try not to sleep on it, catch your hairbrush in it, spray hairspray on it, etc.)
Keep up the Good Aftercare Practices
Now you’ve got all the tools (and hopefully you understand how important piercing aftercare is!) If you protect it, nurture it and give it time, it will grow strong. The walls of the fistula will reinforce much like a sapling developing bark as it grows into a mighty oak. The outer walls will thicken and grow stronger and tougher over time. That’s why it’s important not to rush into changing your jewelry or stretching your piercing. Eventually, your piercing will feel like just another part of your body, something you won’t even be conscious of… until you find some awesome new jewelry, anyway. At that point—once the fistula’s set and strong—you can change your jewelry as often as you want, so spoil yourself!


Comments are closed here.